Create a project using Gradle
Table of contents
Create Project
Create a directory
$ mkdir demoNavigate inside the directory
$ cd demoAll command will be executed from within the
demodirectory unless otherwise stated.Create the project
The following command is using the version of Gradle that is available at the OS level.
$ gradle initThis will bring up an interactive menu
Selection Value Type of project 2: applicationImplementation language 3: Java(the default)Build script DSL 1: Groovy(the default)Test framework 4: JUnit JupiterProject name demo(the default)Source package demo(the default)Full run
Starting a Gradle Daemon, 2 incompatible Daemons could not be reused, use --status for details

Select type of project to generate:
  1: basic
  2: application
  3: library
  4: Gradle plugin
Enter selection (default: basic) [1..4] 2

Select implementation language:
  1: C++
  2: Groovy
  3: Java
  4: Kotlin
  5: Swift
Enter selection (default: Java) [1..5]

Select build script DSL:
  1: Groovy
  2: Kotlin
Enter selection (default: Groovy) [1..2]

Select test framework:
  1: JUnit 4
  2: TestNG
  3: Spock
  4: JUnit Jupiter
Enter selection (default: JUnit 4) [1..4] 4

Project name (default: demo):
Source package (default: demo):

> Task :init
Get more help with your project: https://docs.gradle.org/6.3/userguide/tutorial_java_projects.html

BUILD SUCCESSFUL in 1m 23s
2 actionable tasks: 2 executed
Demo
Explore Project
- Print the directory structure
$ tree -a .
Gradle created the following directory structure
   .
   ├── .gitattributes
   ├── .gitignore
   ├── .gradle
   ... content of the .gradle directory removed for brevity
   ├── build.gradle
   ├── gradle
   │   └── wrapper
   │       ├── gradle-wrapper.jar
   │       └── gradle-wrapper.properties
   ├── gradlew
   ├── gradlew.bat
   ├── settings.gradle
   └── src
       ├── main
       │   ├── java
       │   │   └── demo
       │   │       └── App.java
       │   └── resources
       └── test
           ├── java
           │   └── demo
           │       └── AppTest.java
           └── resources
$ ls -l
-rw-r--r-- .gitattributes
-rw-r--r-- .gitignore
drwxr-xr-x .gradle
-rw-r--r-- build.gradle
drwxr-xr-x gradle
-rwxr-xr-x gradlew
-rw-r--r-- gradlew.bat
-rw-r--r-- settings.gradle
drwxr-xr-x src
A Gradle wrapper was included by the
gradle initprocess as this is the preferred way to work (reference). Other developers do not require Gradle to be installed when working with the Gradle Wrapper. Build Pipelines, such as Jenkins and GoCD, do not need to have Gradle installed as they can use the Gradle wrapper included with the project.drwxr-xr-x gradle -rwxr-xr-x gradlew -rw-r--r-- gradlew.batInstead of using
gradle, now we can use./gradlew(or./gradlew.baton Windows). As mentioned before, when using the wrapper, we do not require to have Gradle installed.It is imperative to include the Gradle wrapper files and folder in the project repository.
Open the project in IDE
IntelliJ
$ idea .VS Code
$ code .Open the
gradle/wrapper/gradle-wrapper.propertiesfiledistributionBase=GRADLE_USER_HOME distributionPath=wrapper/dists distributionUrl=https\://services.gradle.org/distributions/gradle-6.5-bin.zip zipStoreBase=GRADLE_USER_HOME zipStorePath=wrapper/distsThe list of releases is found at: releases page.
We can configure Gradle’s properties to be used by the project from this file, including the version of Gradle. This ensures that everyone on the project make use of the same configuration (and version) of Gradle.
Open the
build.gradlefileComments removed for brevity.
plugins {
  id 'java'
  id 'application'
}

repositories {
  jcenter()
}

dependencies {
  implementation 'com.google.guava:guava:28.2-jre'
  testImplementation 'org.junit.jupiter:junit-jupiter:5.7.0-M1'
}

application {
  mainClassName = 'demo.App'
}

test {
  useJUnitPlatform()
}
Plugins enable more Gradle features. For example, the following plugin will enable Spring Boot Gradle tasks.
plugins {
  id 'org.springframework.boot' version '2.2.6.RELEASE'
}
A list of plugins is available here.
The dependency section manages other libraries that our project uses. For example, we can add new dependency, such as the Apache Commons Lang3 shown next by, adding the dependency.
dependencies {
  implementation group: 'org.apache.commons', name: 'commons-lang3', version: '3.0'
}
The dependencies can defined as a single line, delimited by a
:dependencies { implementation 'org.apache.commons:commons-lang3:3.0' }Dependencies have scopes. Dependencies that are only needed for tests, will have the
testImplementationscope and are excluded from other scopes. These two scopes are enabled by the Java plugin.Dependencies of the same scope can be grouped together as shown next.
dependencies {
  implementation(
   'org.apache.commons:commons-lang3:3.0',
   'com.google.guava:guava:28.2-jre'
  )
}
Dependencies are fetched from repositories, defined in the
repositoriessection. We are using the JCenter repository.repositories { jcenter() }The application and tests are configured in the following respective sections.
application {
  mainClassName = 'demo.App'
}

test {
  useJUnitPlatform()
}
Run the project from the IDE
Open the
App.javafile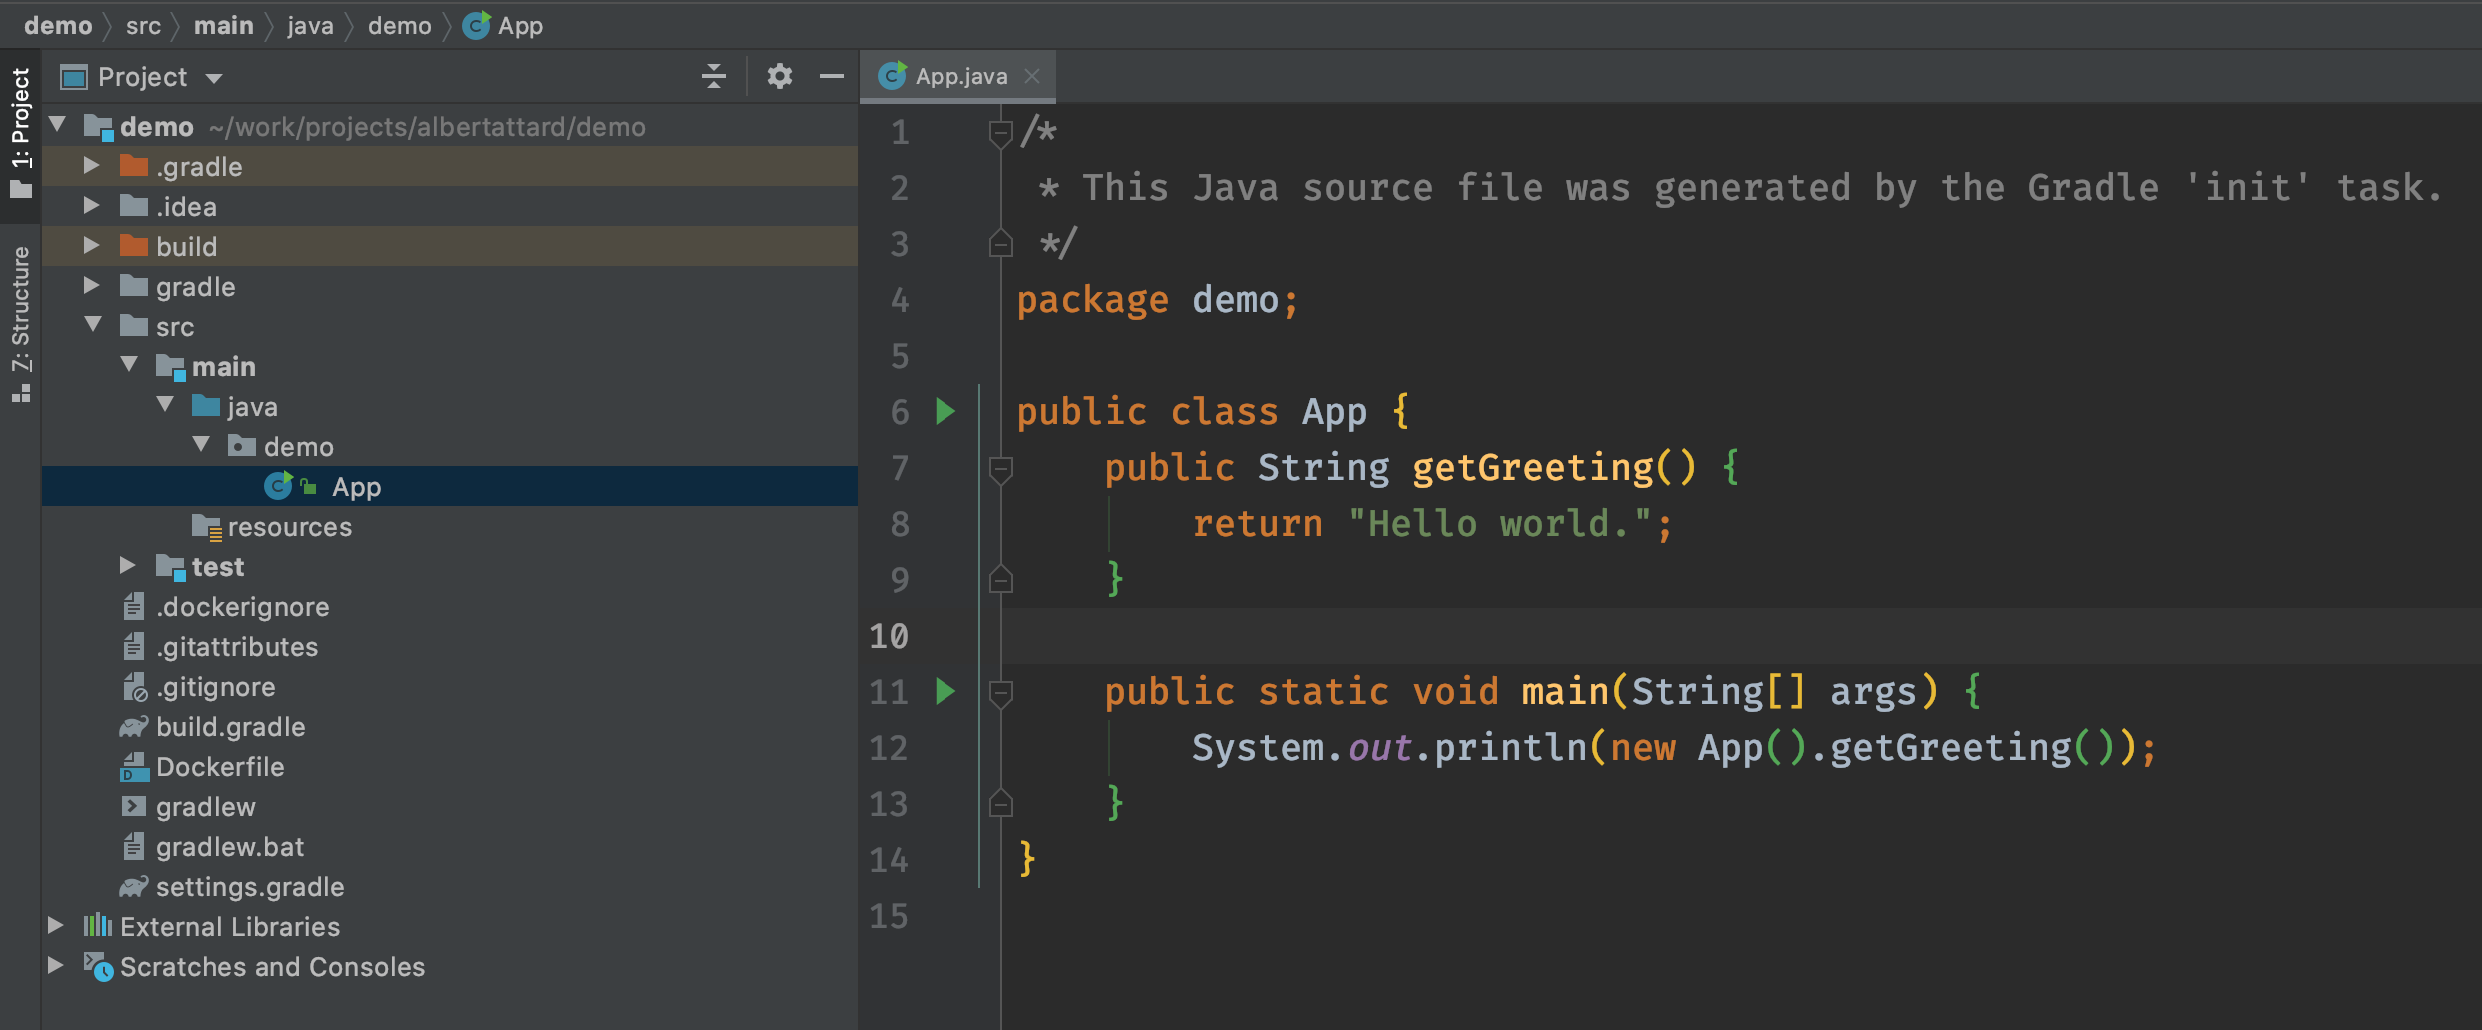
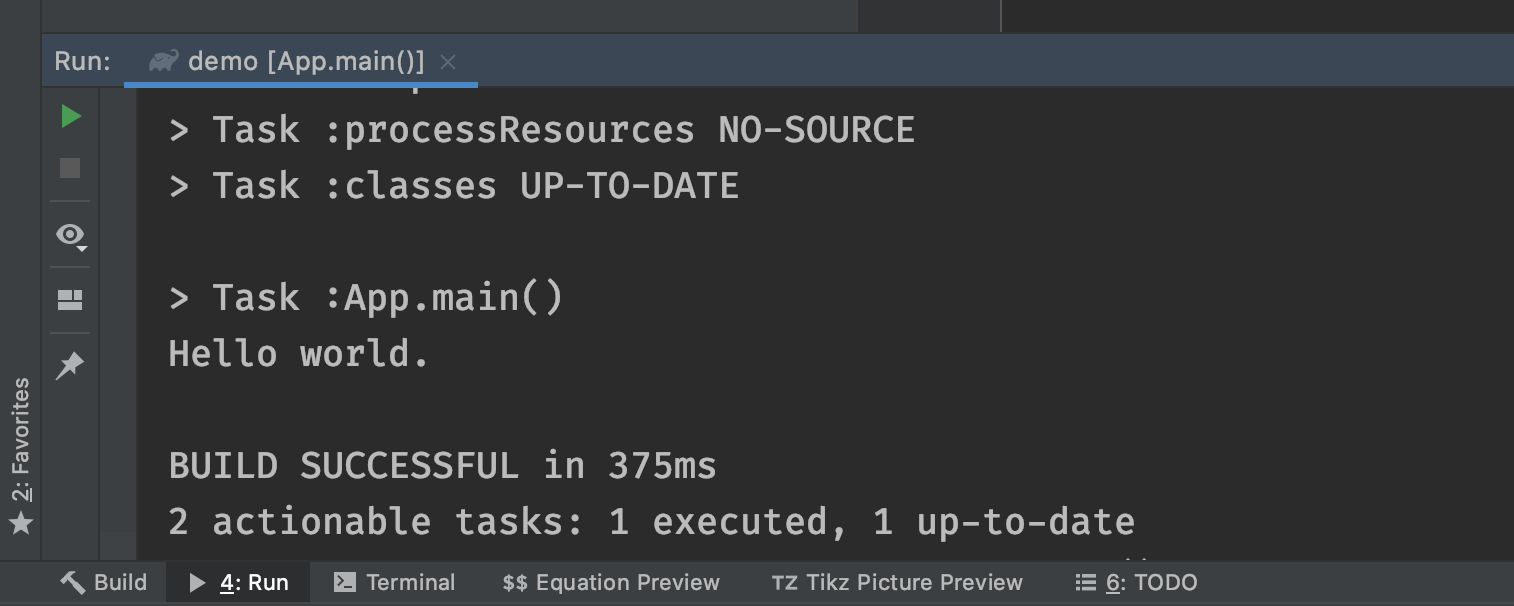
Click any of the green arrows next to the line numbers. Alternatively, click anywhere in the class and click
[control] + [shift] + [R]